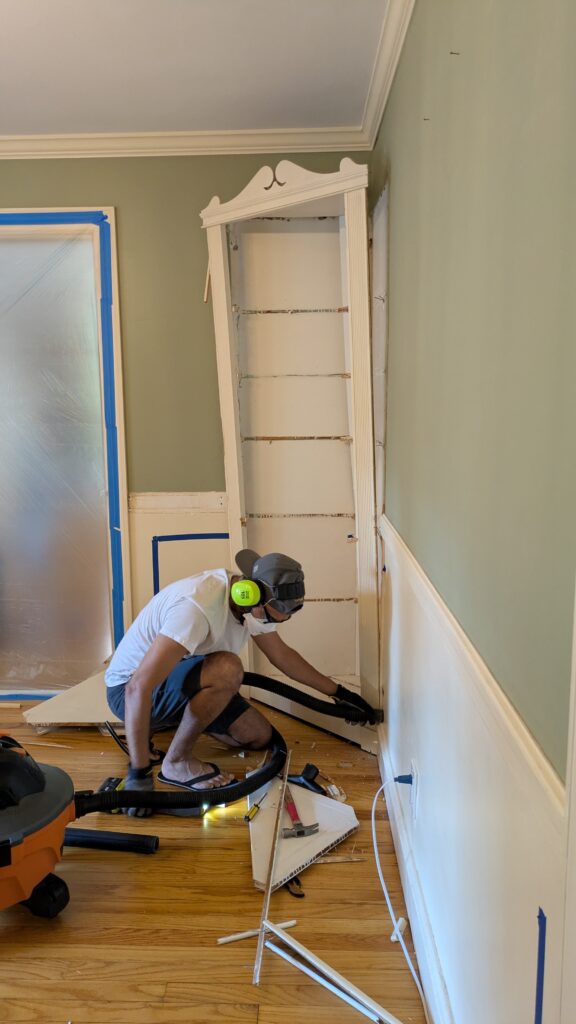
Living through a home renovation? Oh my. Add kids into the mix and—well, let’s just say the chaos is real.
But guess what? We discovered a hack that’s been an absolute game changer for all of our DIY projects. Meet the instant door dust barrier—the simple solution that keeps the mess (and little curious hands) contained while you work.
Every time we take on a project, this trick has saved us so much stress. When you’re working in a space without a door, it’s even harder to keep the dust in and people out. This hack not only solves that problem, but it also contains things like sanding dust, caulking smells, and debris so the rest of your home doesn’t suffer.

Why We Love the Dust Barrier Zipper
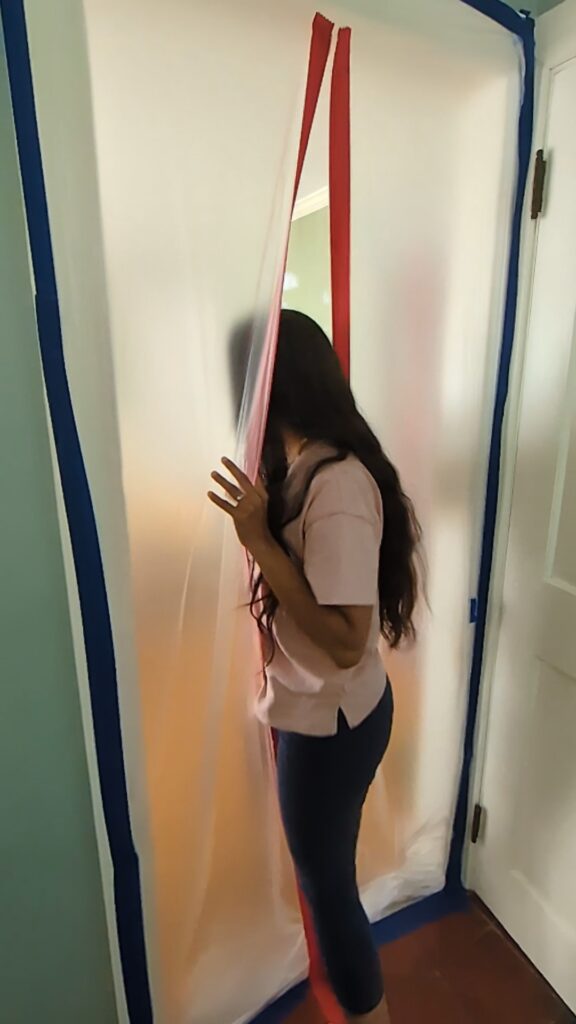
We’re using this hack currently in our half bathroom and dining room projects! The secret is a heavy-duty dust-proof zipper. When paired with plastic sheeting, it creates a temporary “door” that keeps dust from escaping into other rooms while still giving you an easy way to enter and exit your workspace.
Bonus? It keeps kids out. (And trust me, that’s huge when you’re in the middle of a messy DIY.)
How to Install a DIY Dust Door Barrier
The best part—it’s super easy to set up. No fancy tools needed!
Here’s what you’ll need:
- Painter’s Tape
- Pro Painter’s Plastic Sheeting
- Heavy-Duty Dust Barrier Zipper
- A Blade (I love this ceramic one!)
Step-by-Step Instructions:
- Tape the plastic sheeting over your doorway.
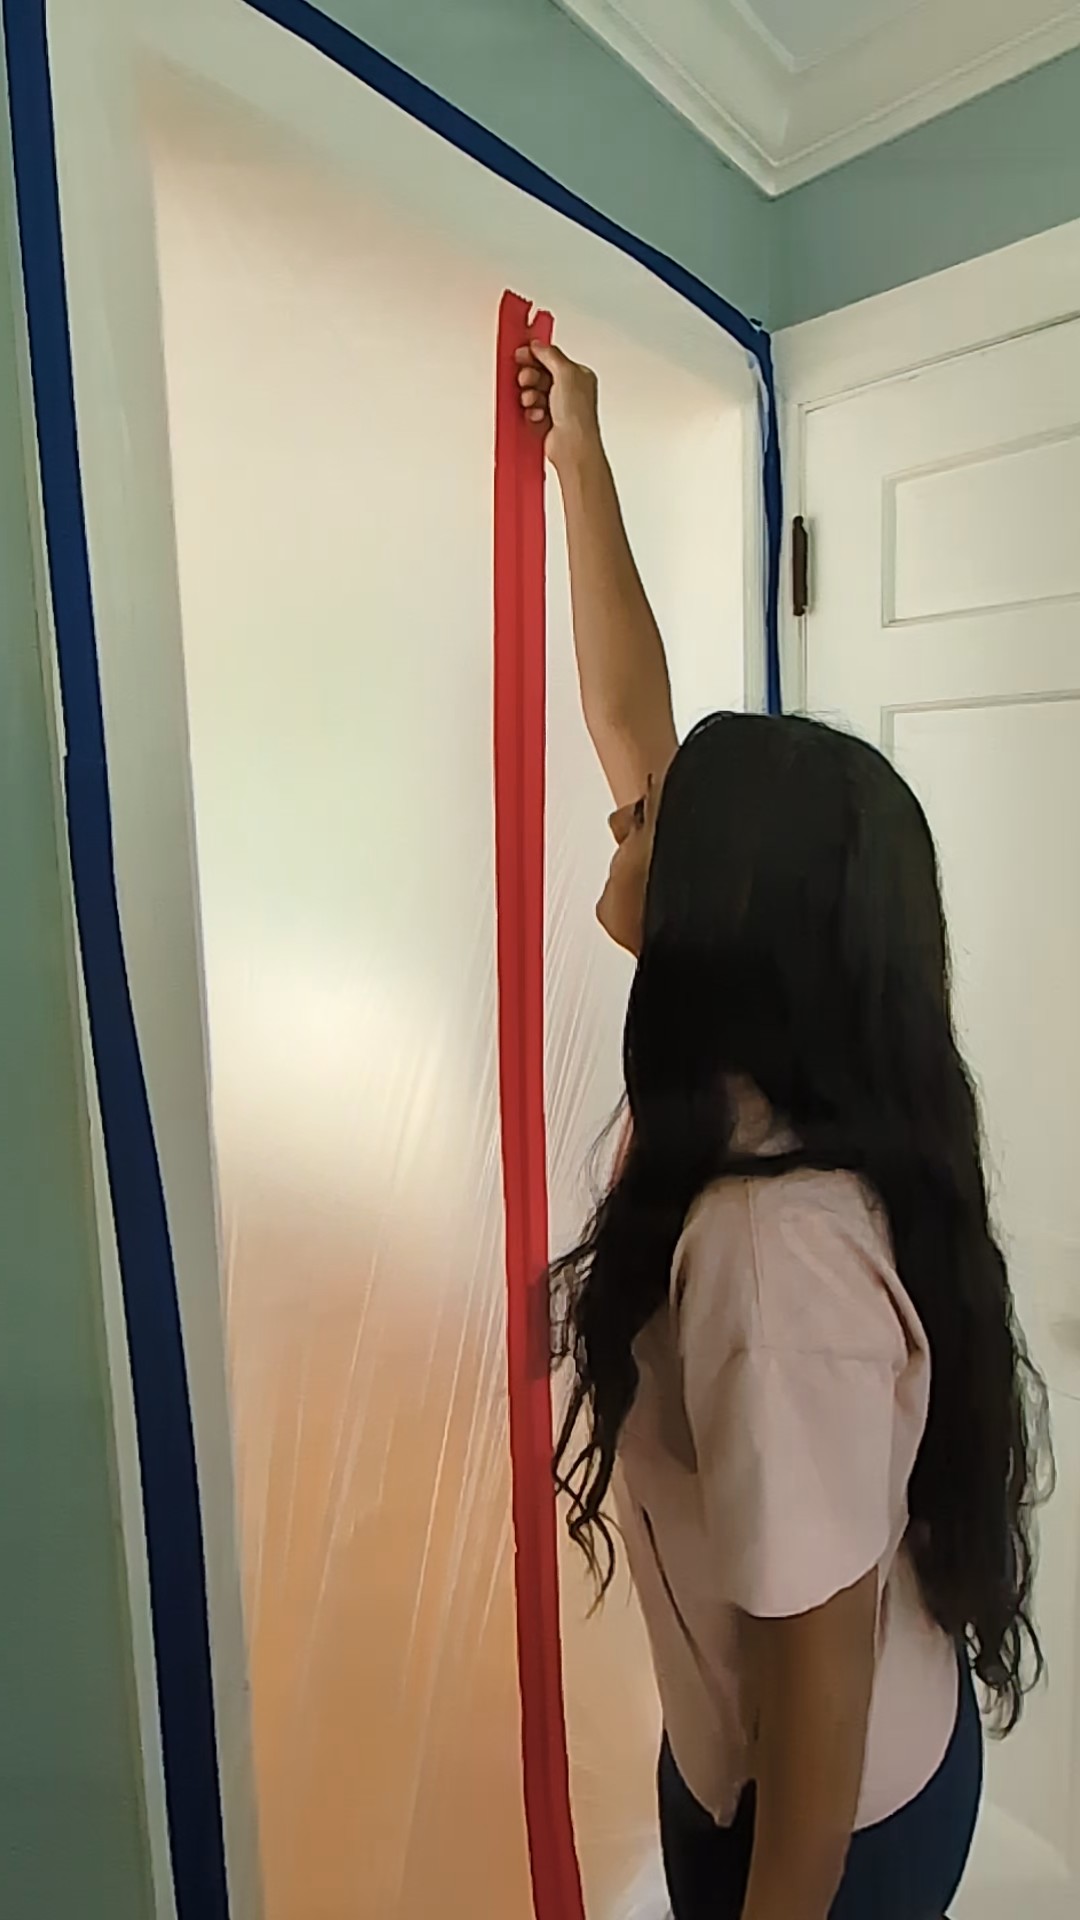
- Stick the zipper down the middle of the sheet (it has an adhesive backing), making sure it reaches the floor for a wide opening.
- Unzip, then carefully cut a straight line down the middle with your blade.
- Zip it back up, test it out, and you’re ready to tackle your project with way less mess!

5 Reasons You Need a Dust Barrier for Your Next DIY
- Keeps Dust Contained – No more fine dust spreading throughout your home and landing on every surface.
- Protects Your Family – Blocks kids (and pets!) from wandering into unsafe renovation zones.
- Saves You Time – Less cleanup after projects means more time enjoying your newly refreshed space.
- Reduces Smells & Debris – Helps trap odors from caulking, paint, or sanding inside the work area.
- Easy & Affordable – Quick to install with just plastic sheeting, tape, and a zipper—budget-friendly and effective.
The Renovation Hack You’ll Actually Use
This instant dust barrier works like a charm every single time. It keeps your renovation contained, saves you from endless cleanup, and makes DIY projects so much more manageable.
We just moved into our 1949 classic cape fixer-upper, and we’re taking it one room at a time. I can already tell this hack will be sticking with us for every project we do—and I can’t wait to share all the transformations with you along the way!
Save this idea for later—because once you try it, you’ll wonder how you ever lived without it.
This post may have affiliate links, which means I may earn a small commission if you shop through them — at no extra cost to you! As an Amazon Associate I earn from qualifying purchases. I only share things I truly love. Thanks for keeping this little blog going!!

+ show Comments
- Hide Comments
add a comment