


DIY Dining Room & Half Bathroom Makeover with Wainscoting
If you’ve been eyeing everyone else’s dreamy homes, this one’s for you. The truth is, you don’t need a brand-new house (or a massive budget) to create a beautiful space. With a little bit of creativity and a few beginner-friendly DIY’s like Wainscoting, you can completely transform a builder-grade or older home into something special.
We recently bought a 1949 classic cape that has tons of character but definitely needs some love. So, we partnered with Lowe’s to refresh two spaces in our home: the dining room and the half bathroom. And let me tell you—adding DIY wainscoting made all the difference!
Why Wainscoting?
From the start, I knew I wanted to add wainscoting. It’s one of those timeless design details that instantly makes a room feel more custom.
- What is wainscoting? It’s a decorative wooden paneling that lines the lower half of a wall.
- Why add it? It’s functional (protects walls) and decorative (adds depth, texture, and character).
- A little history: Wainscoting became popular in the 18th century when it transitioned from covering full walls to just the bottom portion.
Not only is wainscoting timeless, but it’s also a beginner-friendly, cost-effective way to instantly elevate a room. Plus, it creates visual interest and depth that makes any decor—whether it’s a piece of art, a mirror, or even furniture—stand out even more.
Our DIY Wainscoting Process
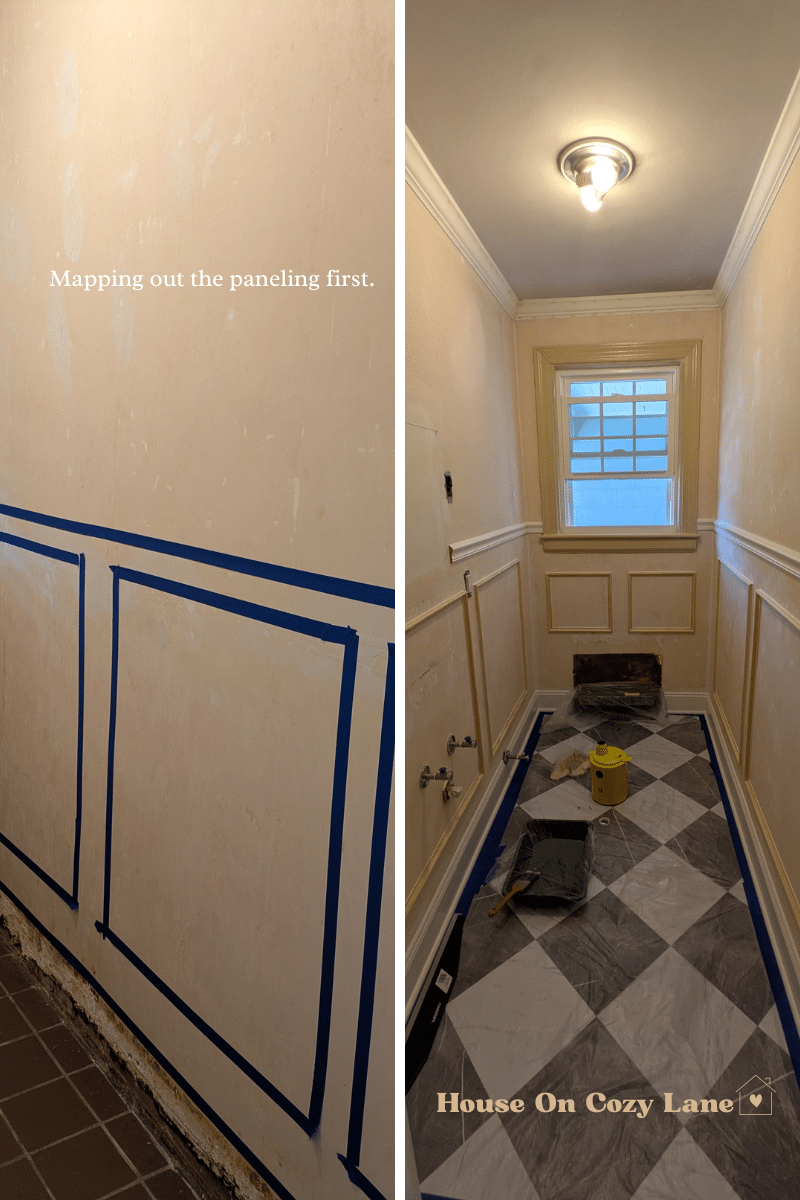
The first step? Painter’s tape! We mapped out exactly how we wanted our design to look right on the walls before committing. Then, off we went to Lowe’s to grab the prettiest trims and panels we could find.
This was our very first time installing wainscoting, so if we can do it, I promise you can too.
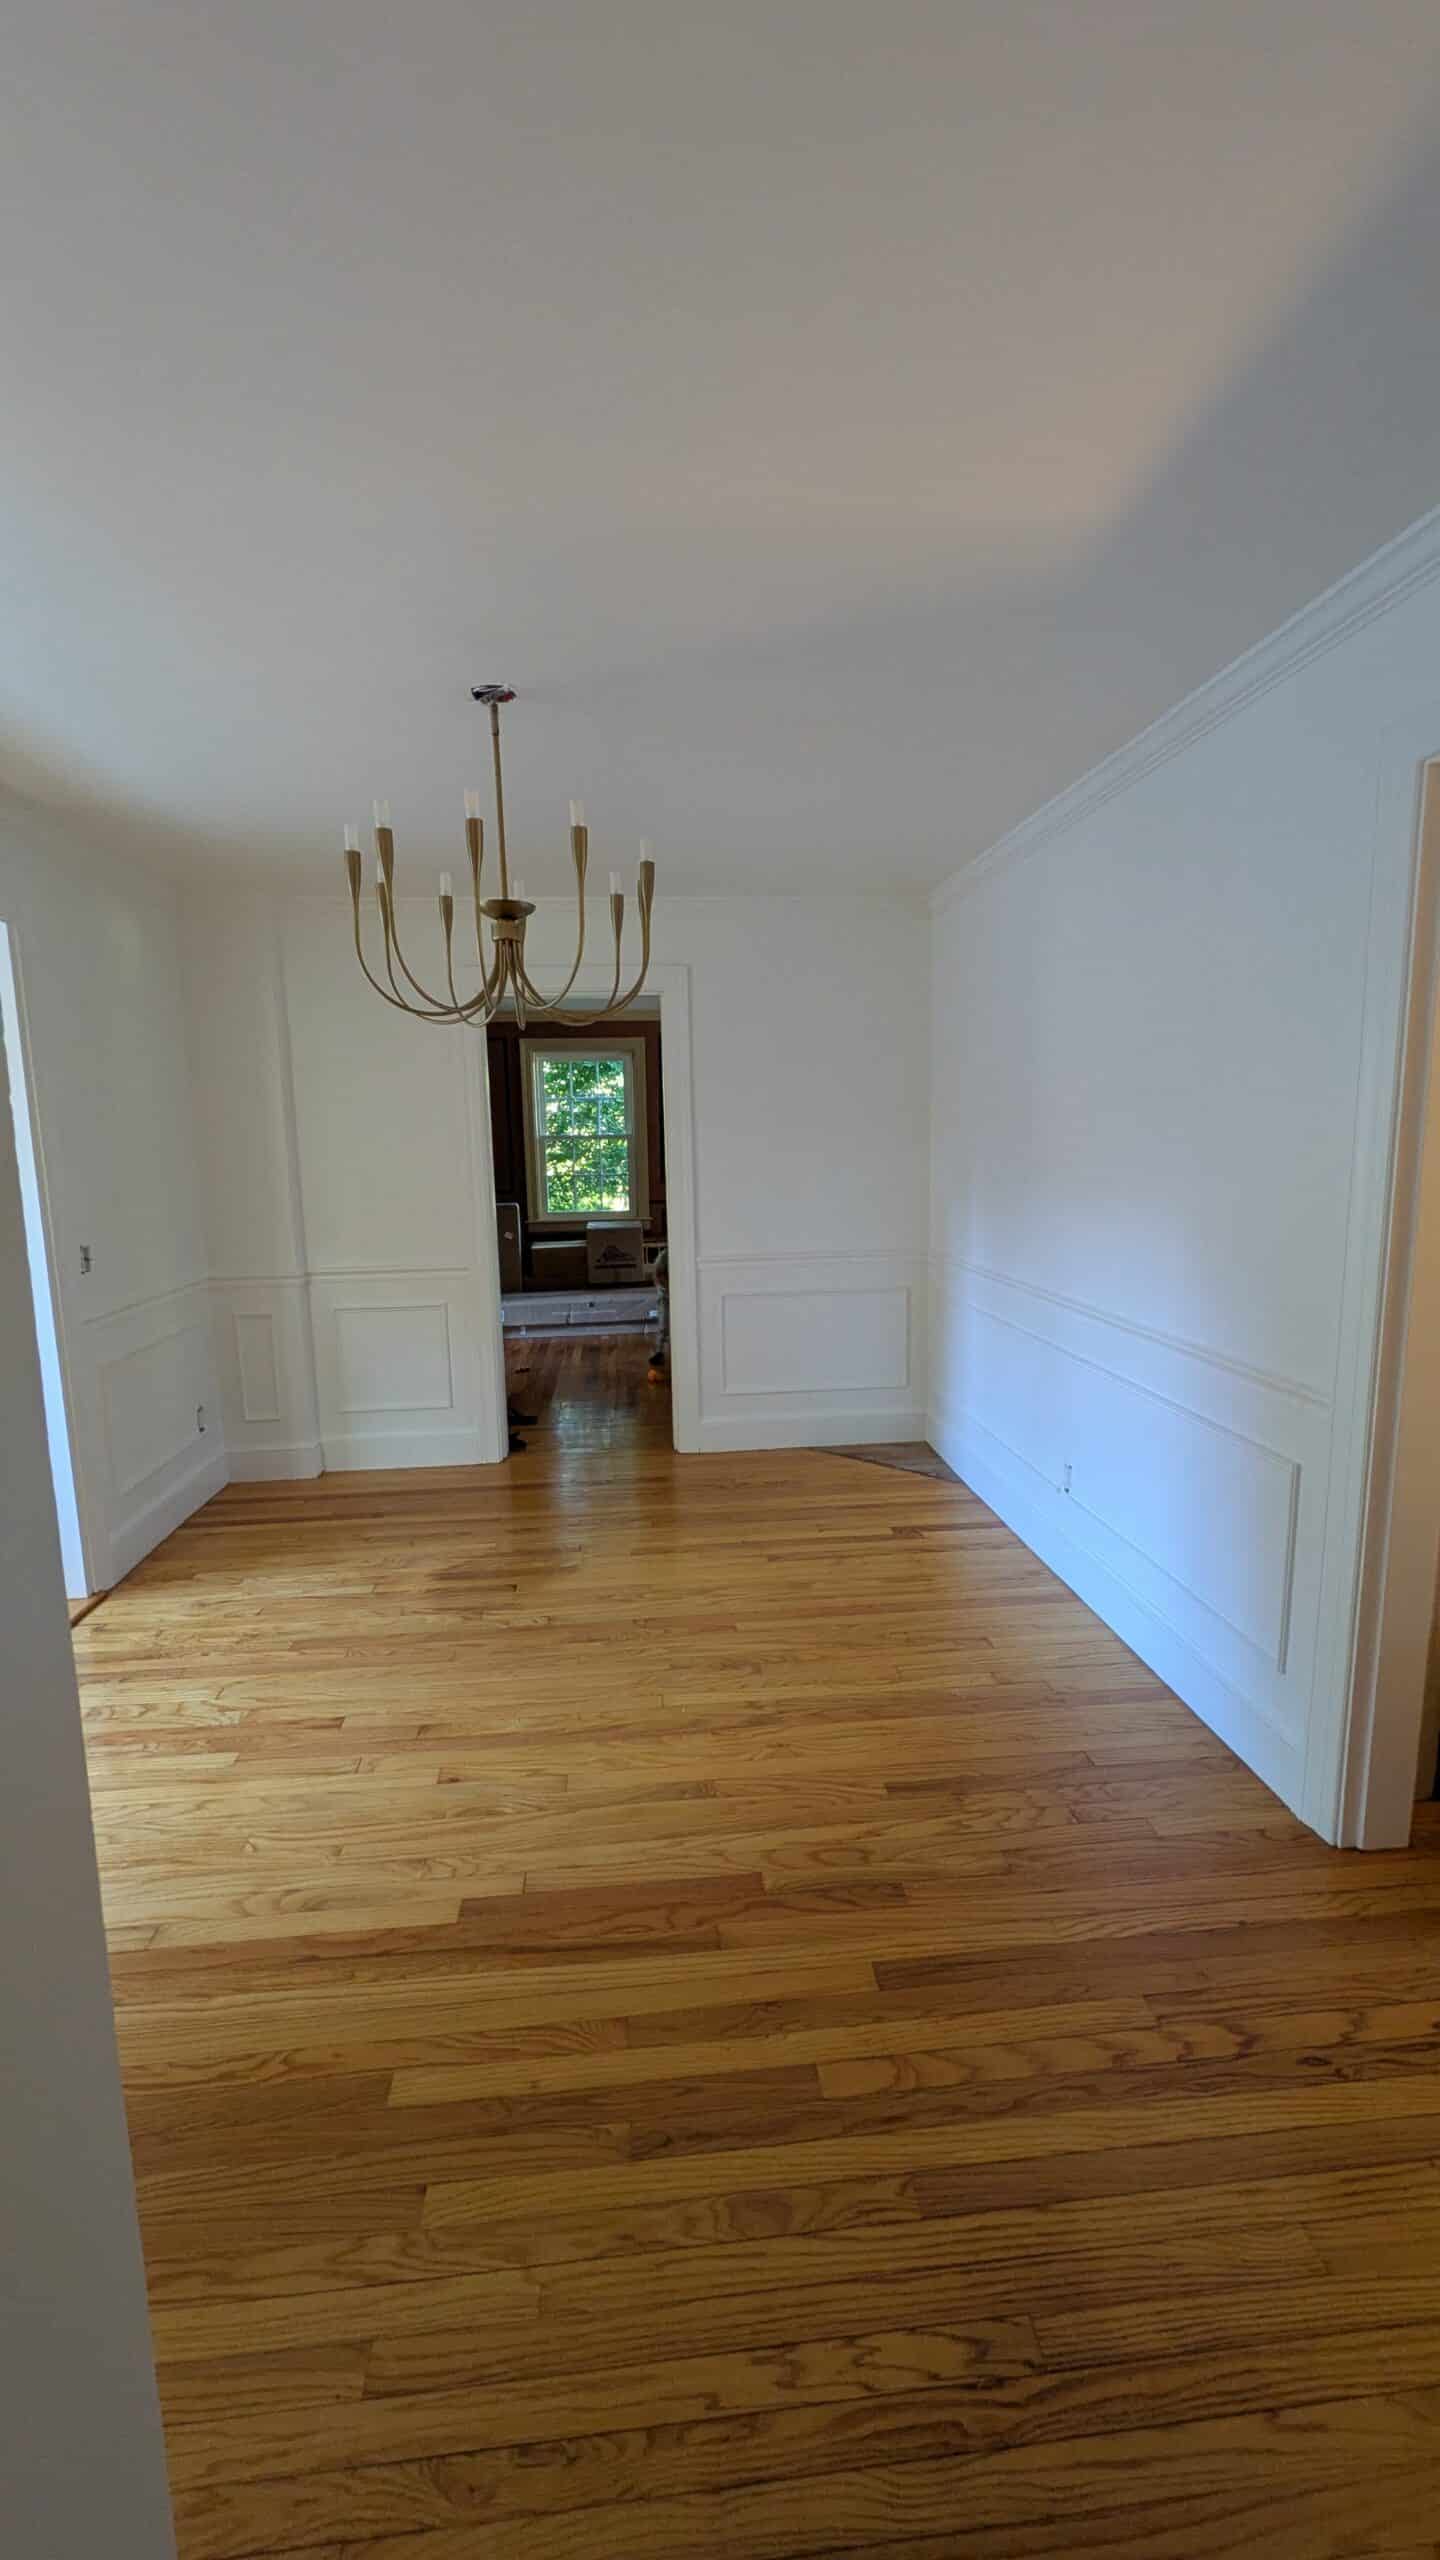
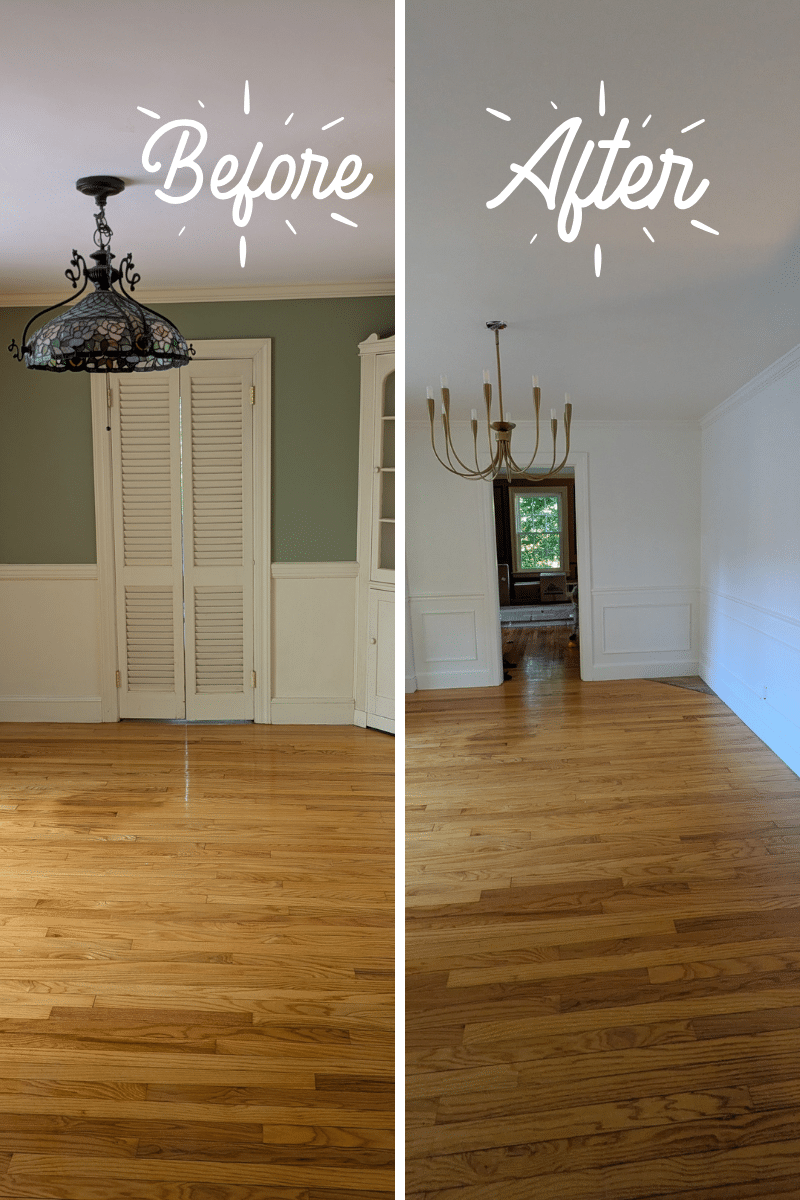
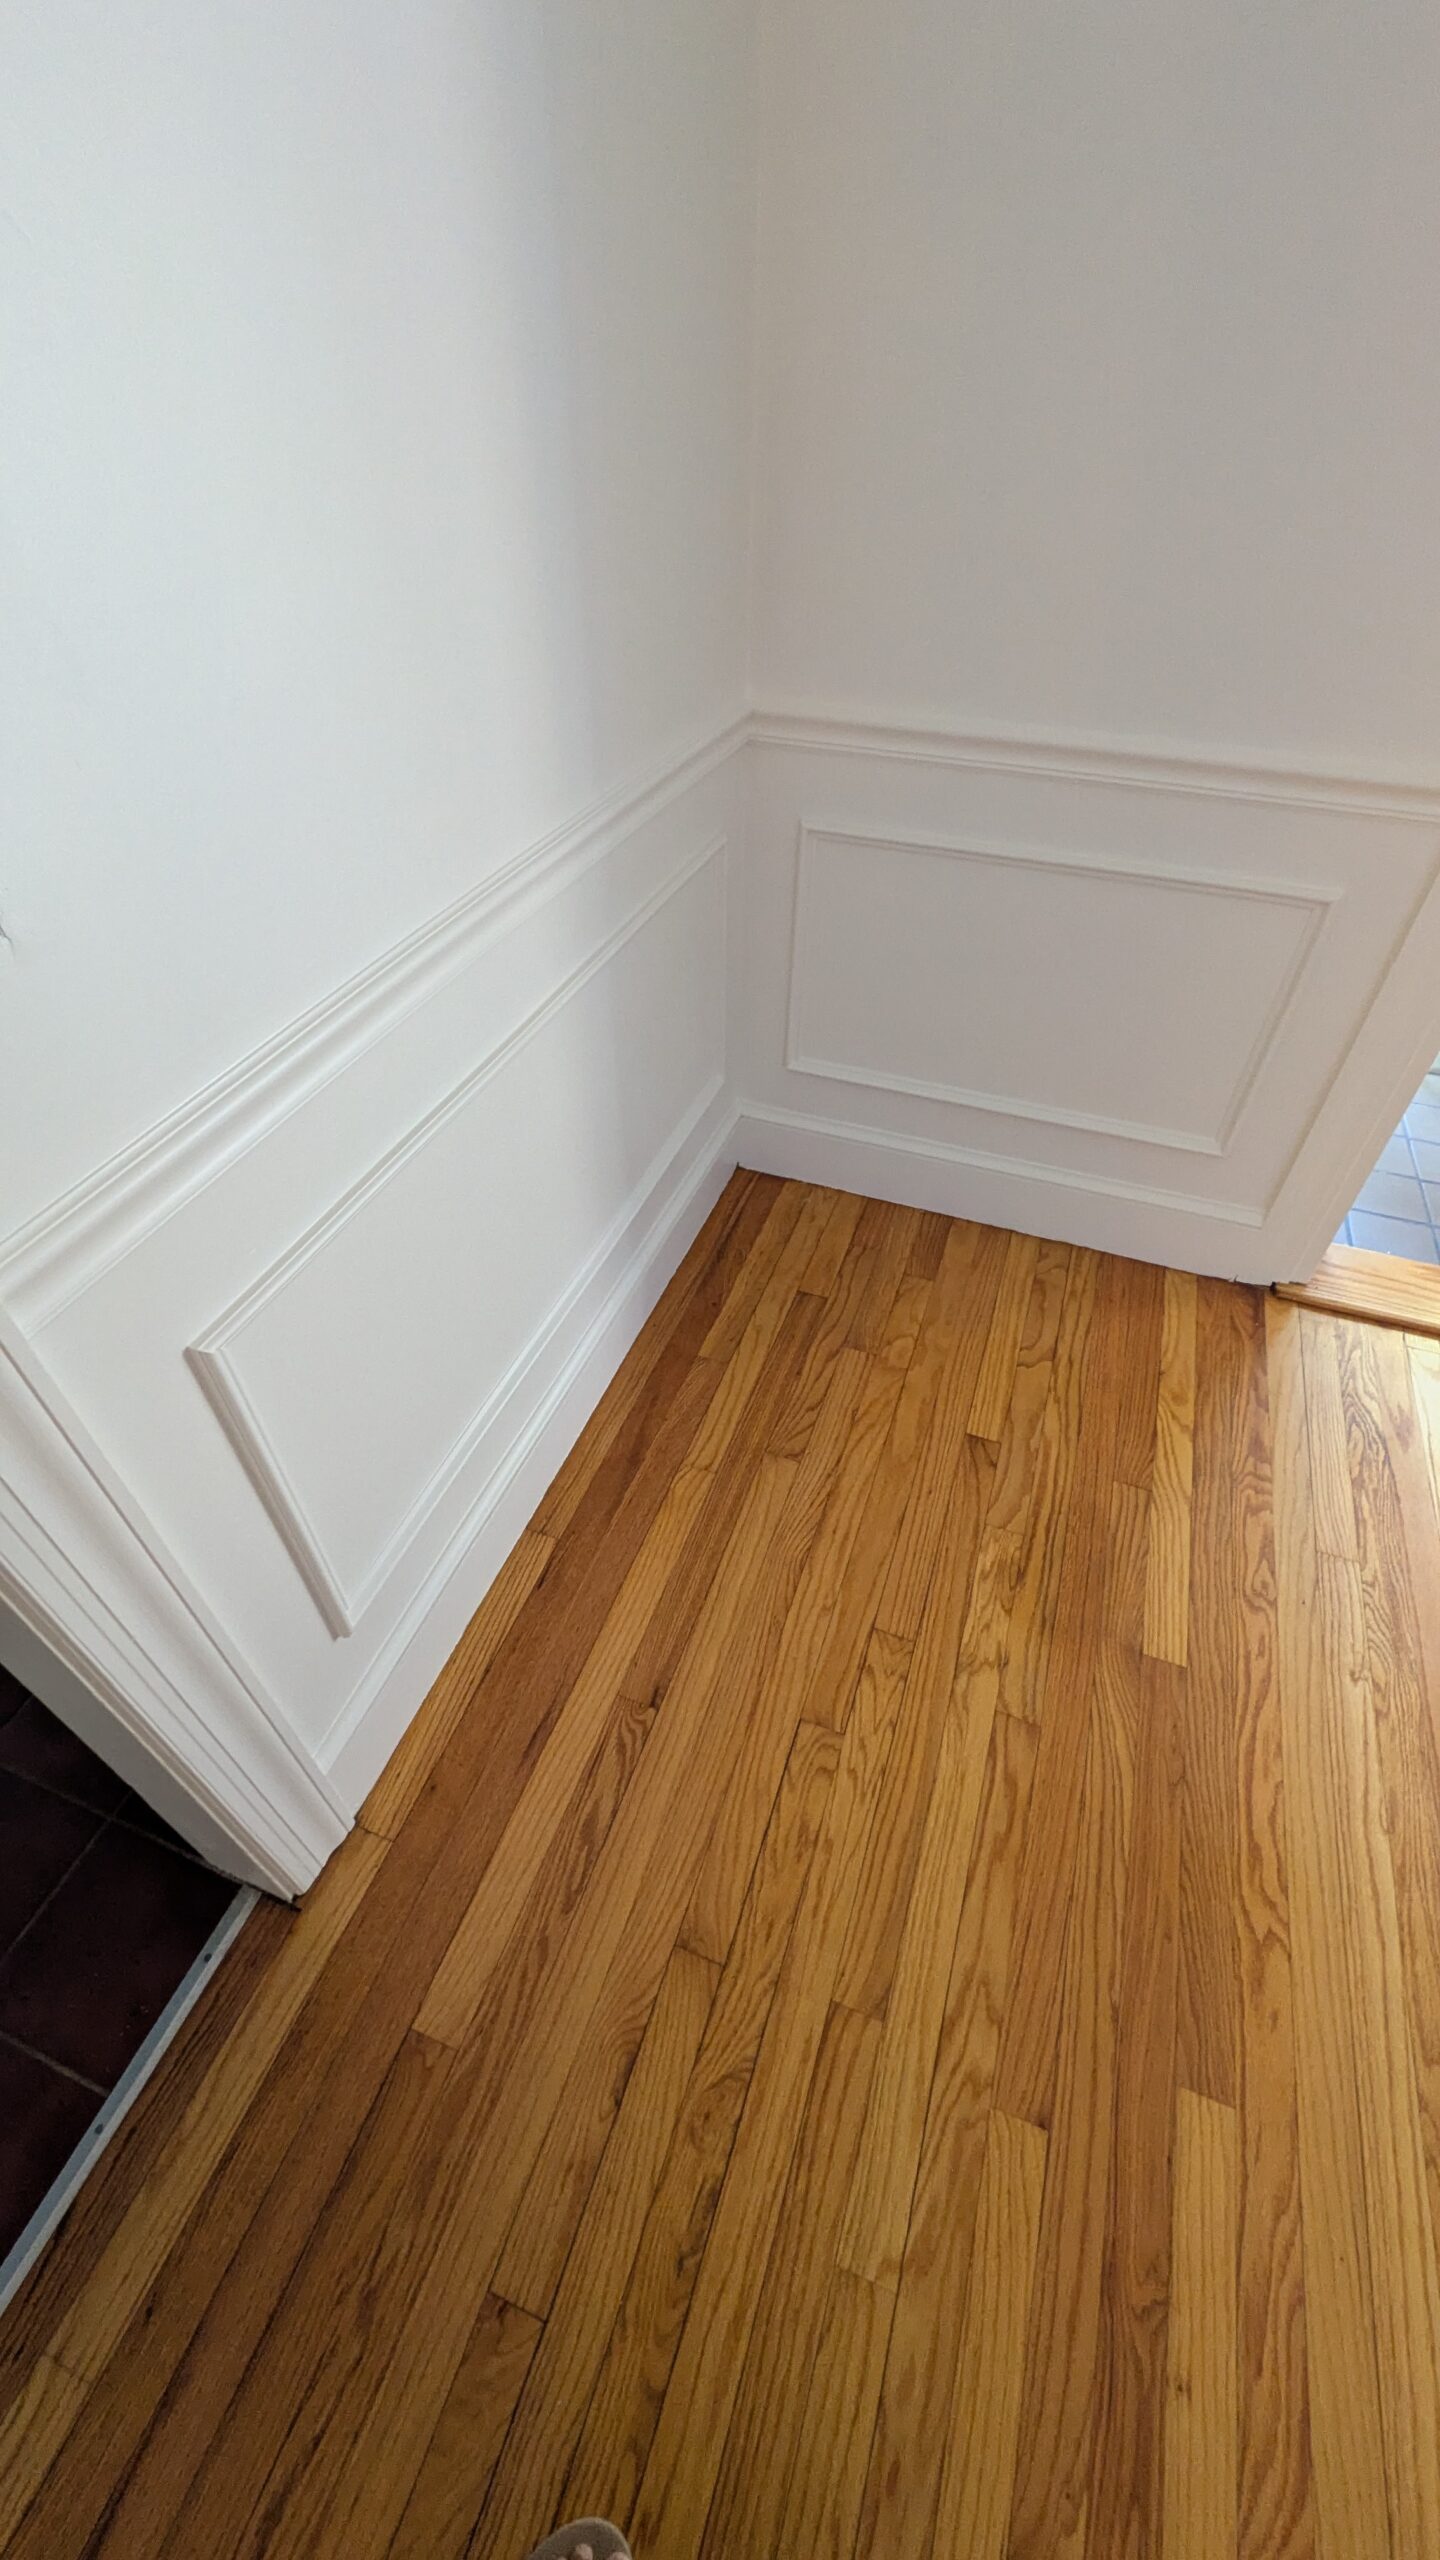
Dining Room Wainscoting Design
For the dining room, I wanted something classic yet tailored to our space.
- Chair rail installed 35 inches from the floor (about one-third up).
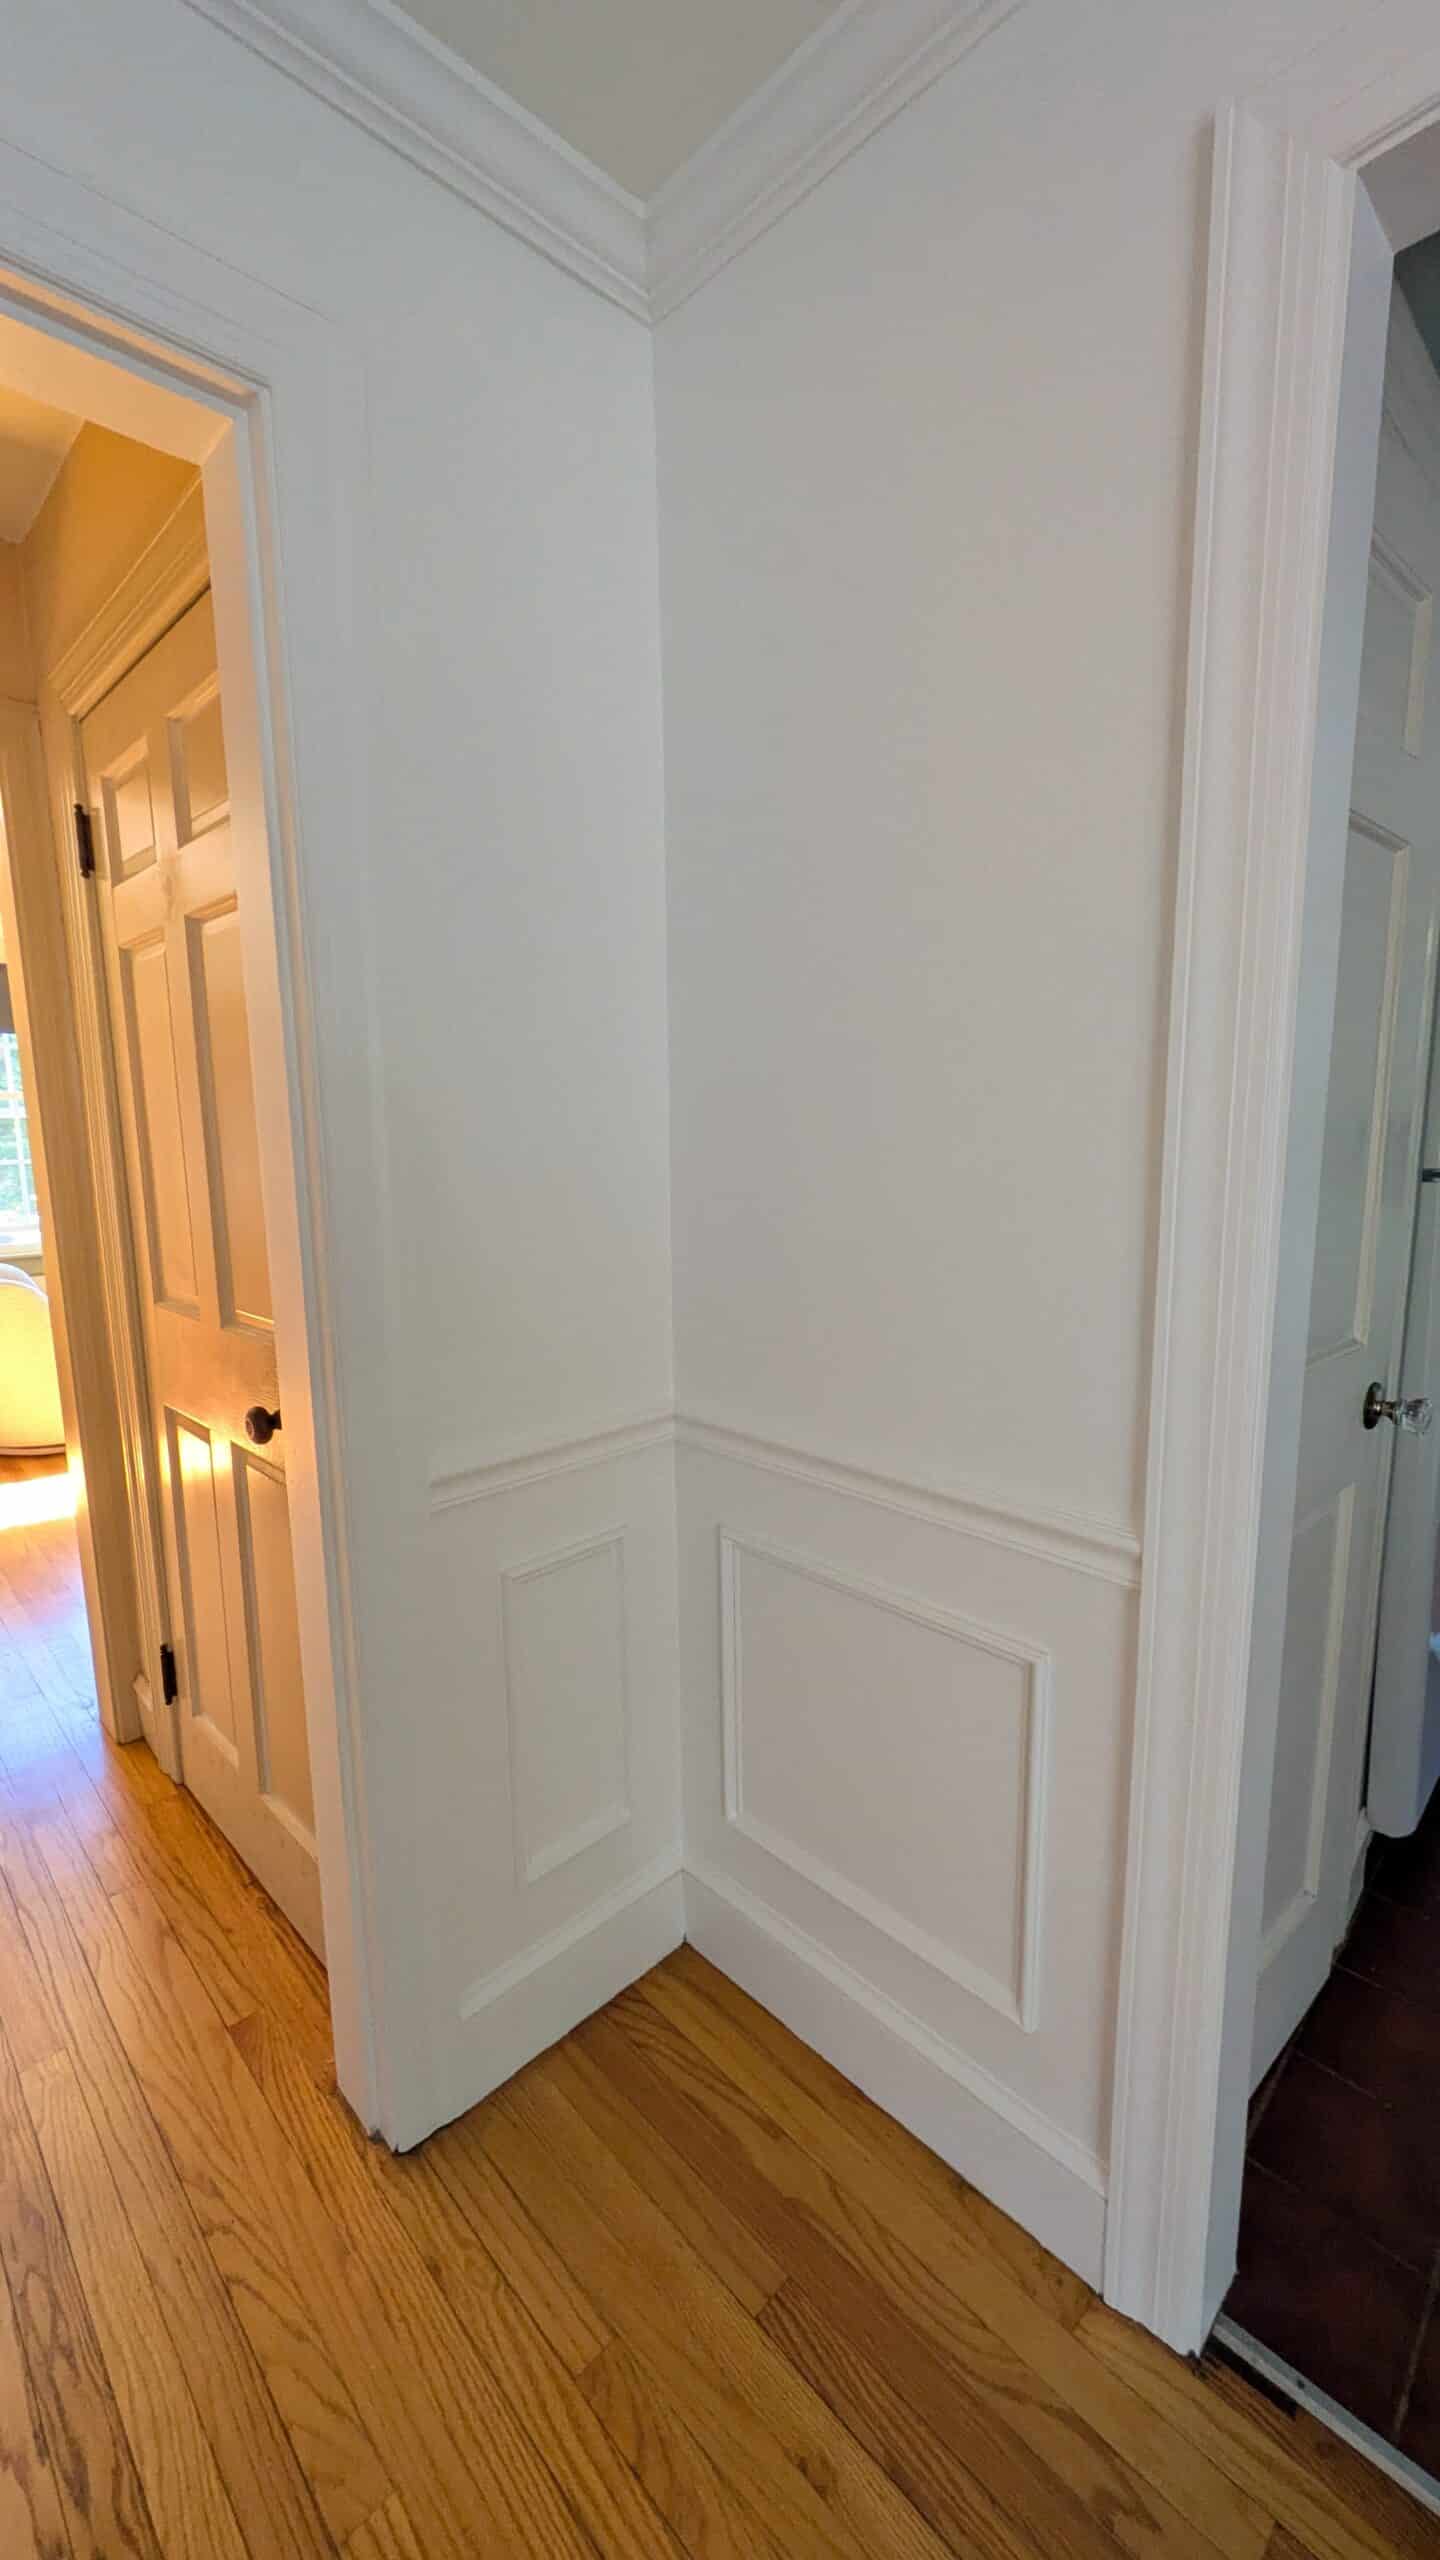
- Trim boxes designed to sit 4 inches from all sides for a clean, balanced look.
- Each wall got its own unique box size to fit proportionally—making the design feel custom.
This instantly added visual interest and depth, making our dining room feel so much more polished and intentional.
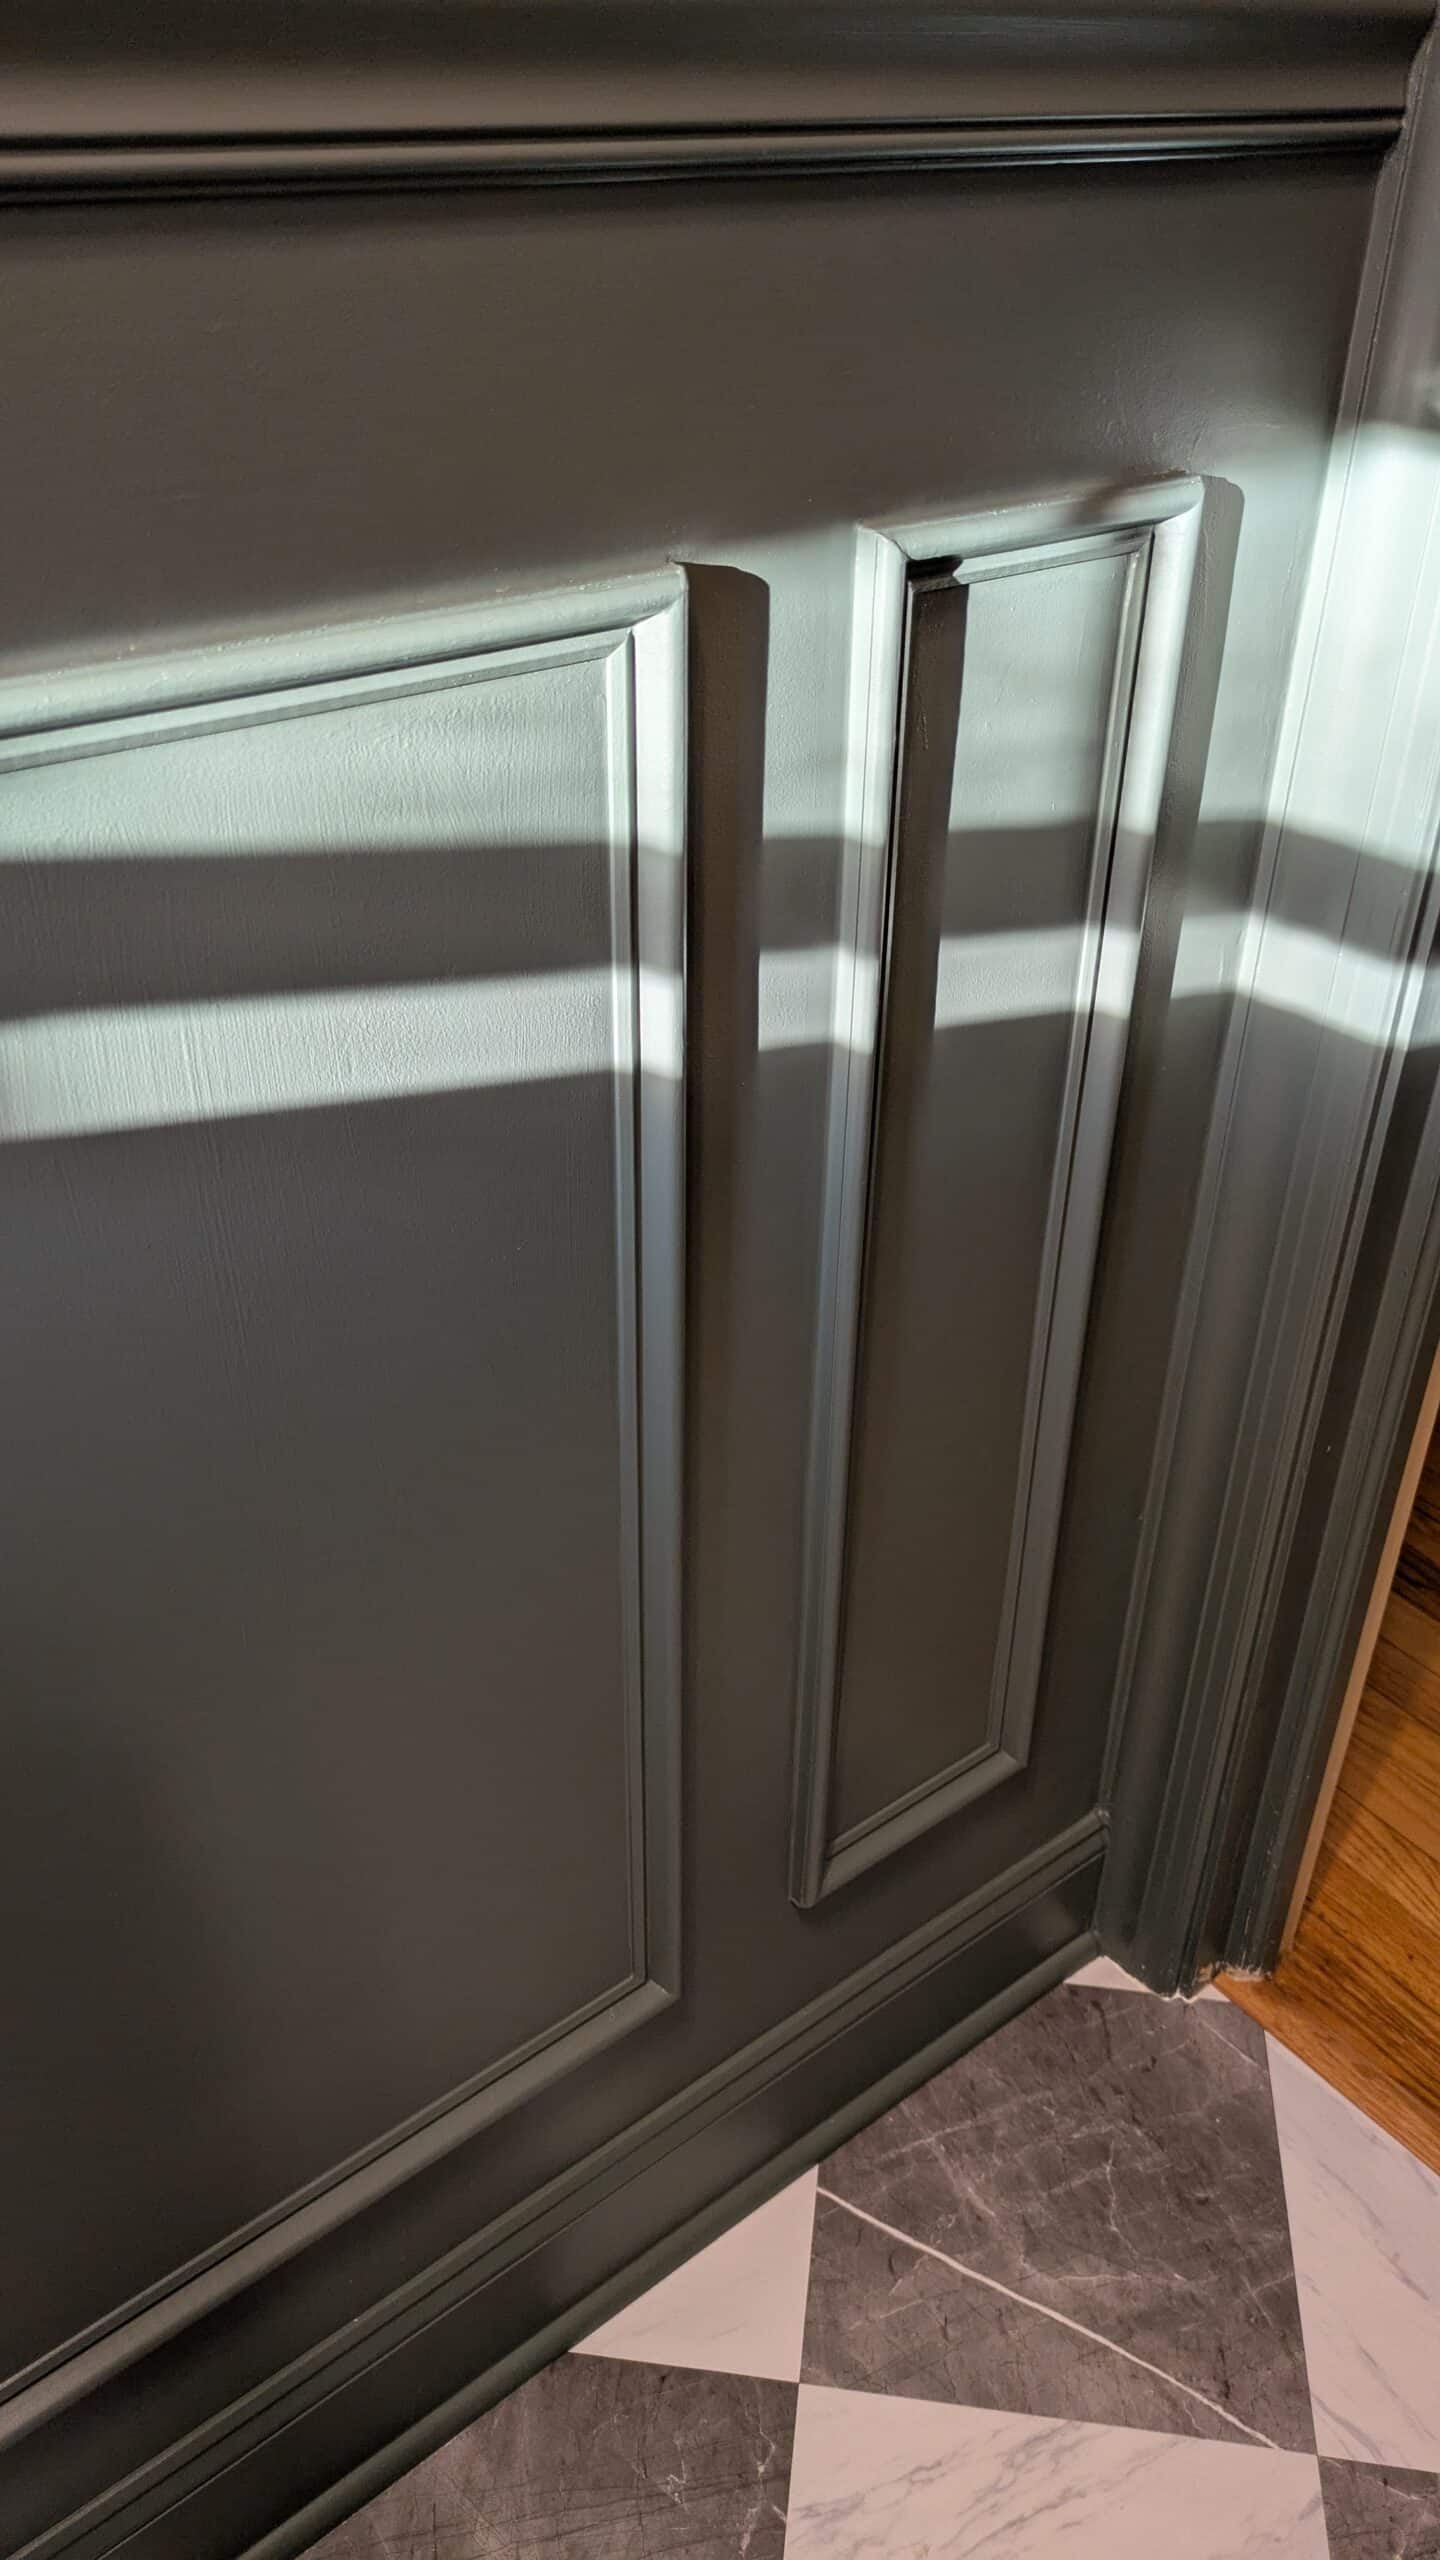
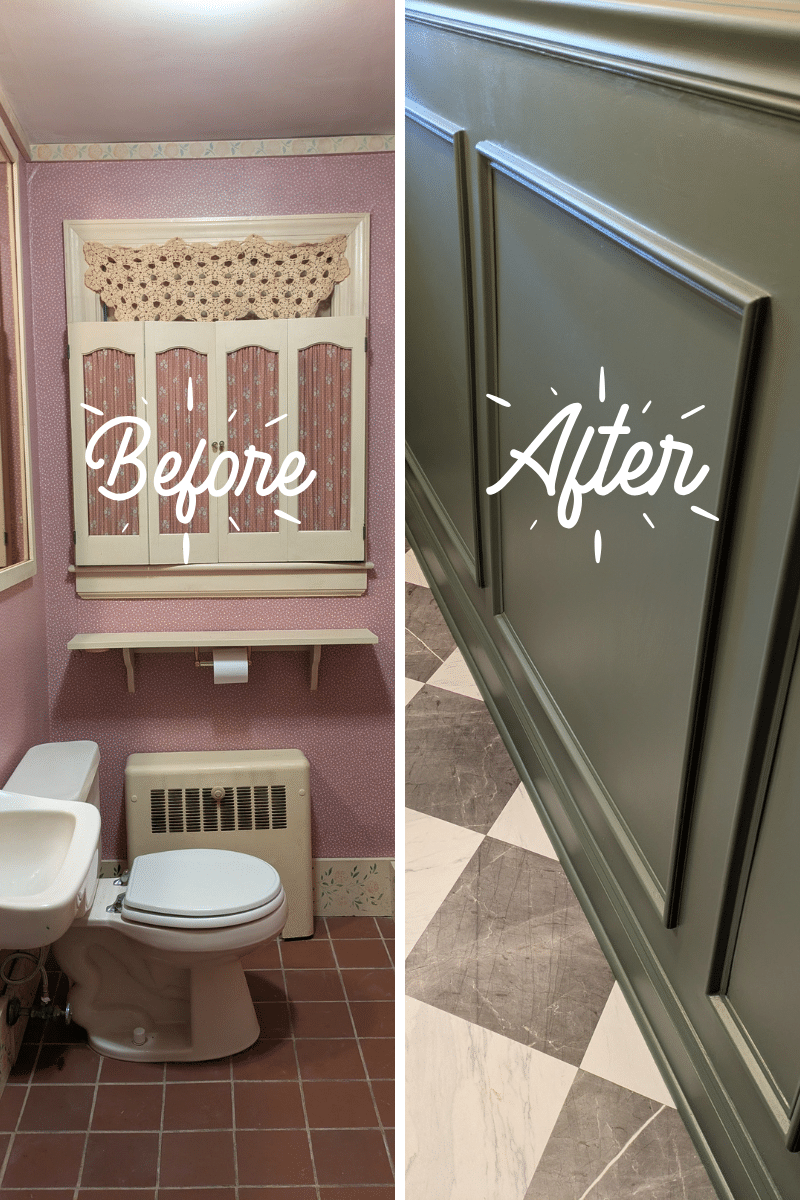
Half Bathroom Wainscoting
Bathrooms can be tricky because of outlets, sinks, and smaller walls—but that’s also where you can get creative.
Instead of the traditional one-third placement, I set the chair rail halfway up the wall so it cleared the sink and outlets. Because the bathroom walls are symmetrical, we mirrored the trim design to create balance.
The result? A small bathroom upgrade that feels elegant, cohesive, and surprisingly spacious.
What We Used (All from Lowe’s)
Here’s the exact trim and moulding we used for both spaces:
- Chair Rail – a pretty style that instantly elevates.
- Moulding – love this trim so much that we’re using it throughout the house.
- Crown Moulding – perfect for that “finished” touch in our half bathroom.
- Baseboard – clean and classic used in our half bathroom.
- Shoe Moulding – a subtle detail that accents the baseboard beautifully.
Here are the tools you’ll need handy for this project:
- Caulk – for that finished look before painting.
- Brad Nailer -makes attaching the trim so much easier and a lot faster.
- Brad Nails – keep a stash so you never run out in the middle of your project.
- Miter Saw – for that custom cut.
Why You’ll Love Wainscoting
The best thing about DIY wainscoting is how customizable it is. Sure, there are traditional “rules,” but at the end of the day—it’s your home. If you love the look, that’s what matters.
- It’s beginner-friendly (no need for prior experience).
- It’s budget-friendly (a high-end look without the price tag).
- It’s timeless and versatile (works with modern, farmhouse, or classic styles).
Whether you go traditional or add your own twist, wainscoting transforms a plain wall into something special—elevated, beautiful, and full of personality.
This post may have affiliate links, which means I may earn a small commission if you shop through them — at no extra cost to you! As an Amazon Associate I earn from qualifying purchases. I only share things I truly love. Thanks for keeping this little blog going!!


+ show Comments
- Hide Comments
add a comment